How to Create Monograms for Your Laser
Start by selecting the Text Tool in the Toolbox.
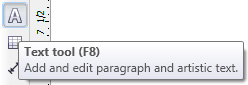
Then choose the typeface, and text size in the Properties Bar at the top of the screen.

We used Monotype Corsiva set at 100 points for this example. Monotype Corsiva makes a great typeface to use for monograms because of its script cursive style, plus it is easy to read.
Next click on the page and type out the capilatized letters for your monogram.
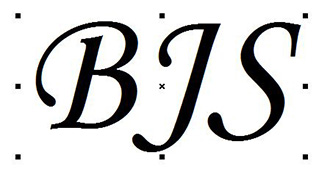
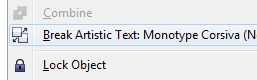
Now select the letters with the Pick Tool, and choose Break Artistic Text: (Typeface Name) Apart from the Arrange drop-down menu at the top of the screen.
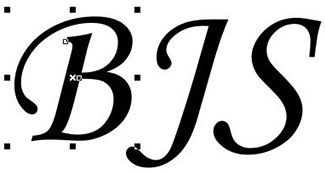
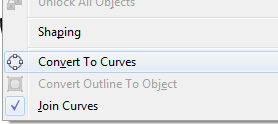
Select the letters with the Pick Tool, then choose Convert to Curves from the Arrange drop-down menu at the top of the screen.
Select the middle letter, and in the Object Size properties boxes enter 125% for the height and width dimensions.

If you click the Lock ratio button the dimensions of the letter will increase proportionately.
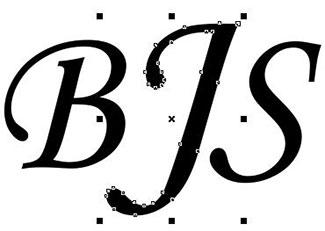
Next click and drag the left and right letters seperately so both overlap the middle letter.
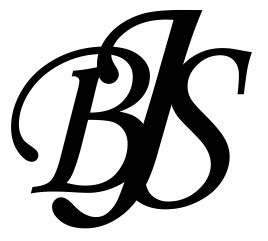
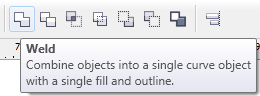
Weld all three letters together by selecting all three and clicking on the Weld button in the Shaping Box at the top of the screen.
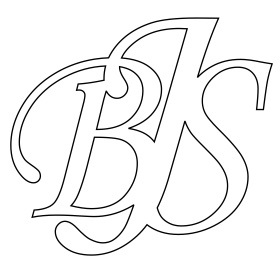
To see the results of the Weld more clearly add a black outline and choose white as the fill color. (pictured below.)
Select the Ellipse Tool from the Toolbox, then draw a circle that is .2" x 2". This is your outer loop. Hold Ctrl to draw a proportionate circle.
Then Copy and Paste the first circle and change the size to .125" x .125". This is your inner loop.
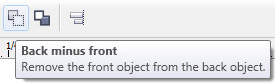
Now select both and select Back minus front from the Shaping box.

Outer Loops

Inner Loop

Final Loop
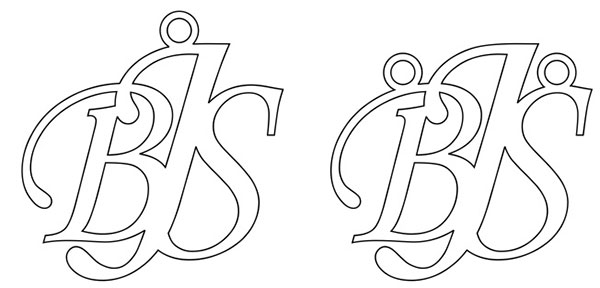
Select the location of the chain loop that you like best (there are two options below), and Weld the loops to the monogram by selecting the monogram and the loop then clicking the Weld button. The configuration of the loops will depend on your customers' preference.
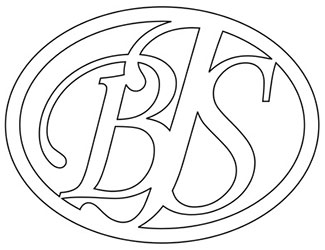
Another great option for a monogram is adding an oval to the outside. If you are using an especially delicate typeface, the oval will help prevent the scripts on the letters from breaking off and provides a completely different look than the letters on their own.
Now test out what you've learned above and use those skills to create the oval look, pictured to the right.
We'll give you a little hint: the feature in CorelDRAW you'll need to use is called Convert Outline to Object.
Add the chain loops and a nice necklace chain to the oval as a finishing touch. Have fun!
Monogram necklaces are exceptionally popular gifts. Here we'll walk you through the steps of creating a monogram in CorelDRAW and manipulating it so the laser cuts it as a single piece. All you need to do is loop a chain through and you have a wonderful, personalized gift ideal for any occasion!
|
|
|
|
|
|
|
|
|
|
| |