Using a Mask to Create a Color Fill
For this exercise, we'll be demonstrating how to use a mask or application tape to create a color fill.
Application tapes are great for protecting surfaces from smoke or debris that's created while the laser is engraving or cutting. The application tape for this exercise was provided by American Biltrite Inc. (product #592U)www.abitape.com
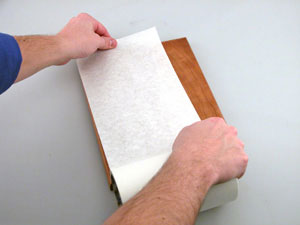
Start by applying the application tape to the piece on which you'd like to engrave.
Note: Be sure to overlap the tape about a 1/4" so the entire surface of the piece is covered.
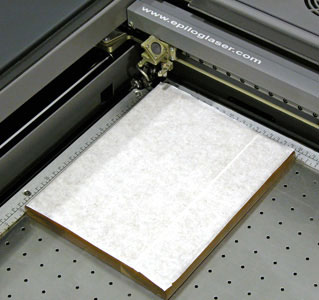
Once you have the piece covered with the application tape, place it in the laser system and send the graphic to the laser.
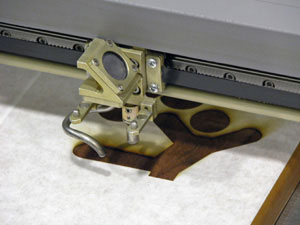
You can see how the mask is protecting the surface from smoke and debris (pictured to the right).
Once your engraving is finished, generously apply the color fill (we used acrylic paint in this example) to the area that was exposed by the laser. You may need to apply a few coats to achieve a desired look.
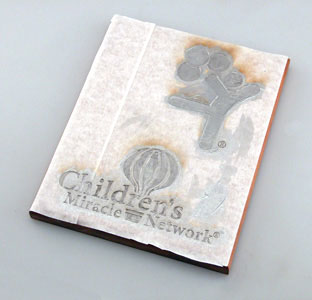
Once that paint has dried, pull away the application tape and you're finished.
Using application tape saves you the hassle of having to clean or wipe away the excess color fill.
