Transforming a Vignette in PhotoLaser Plus
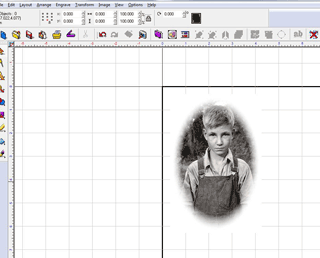
If you're looking for a more sophisticated look when cropping and engraving photos, consider a vignette - a cropping technique that produces a soft, feathered edge that is very appealing.
In order to create a vignette, it is necessary crop the image first. When cropping a photo in PhotoPaint or PLP (PhotoLaser Plus) many users become frustrated because it’s difficult, if not impossible, to get the correct size and shape that’s desired. Because of this difficulty, these instructions will show an alternate method of cropping in CorelDRAW that is easy to perform as well as being very precise.
Select the photo and go to Transform/PhotoLaser/Interactive. Choosing Interactive allows you to choose from a variety of different materials.
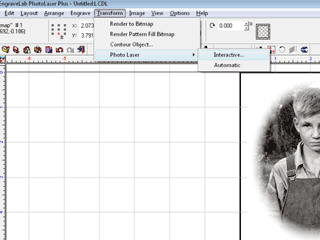
To choose a new material, open the yellow Materials Folder by clicking on the folder icon (circled in red to the right) the transformed photo.
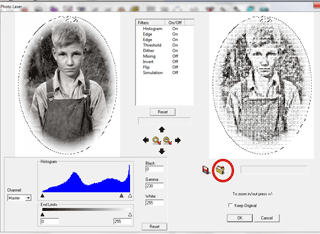
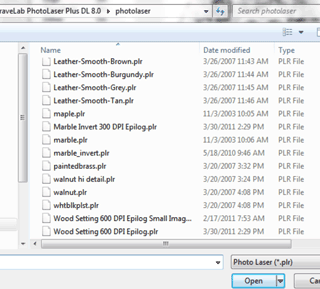
There is a long list of materials to choose from. Material names with “Epilog” in them incorporate the parameters we have found to create the best look for that material. There are Epilog material files for wood, glass, acrylic, leather, marble, and anodized aluminum.
If you don’t see the Epilog settings they can be downloaded from www.epiloglaser.com/photolaserplus_instructions.htm. We also occasionally update or add to these files, so please visit our web site to keep pace with what’s new in the photo engraving world!
Finish Transforming
You can now preview the photo. There are a variety of tools the software makes available if you want to adjust our settings. These include histogram, edge, threshold, and more.
If you want to keep both the original and transformed photo onscreen, you can check Keep Original on this screen, otherwise it will be replaced with the transformed photo.
Press Okay and the window will close and take you back to your main page.
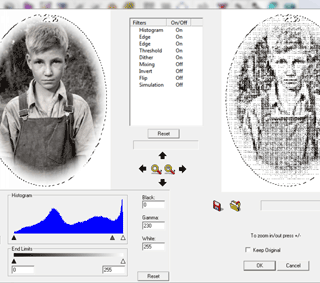
The image on the right is the Transformed image that you will now export.
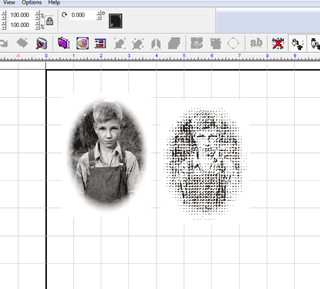
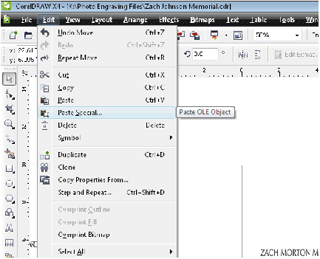
Copy and Paste Transformed Image Back Into Corel:
Go to Edit | Copy to copy the image in PLP. Then go back to Corel and use the Paste Special command to bring the image into Corel. From the Paste Special Window, select Picture (Enhanced Metafile).
Alternately, you can save the Transformed image as a .bmp and Import it into Corel.
Go to File | Export Image and save (export) the transformed image as a .bmp. Make note of where you saved the file so you can find it when you are ready to Import it into Corel.
You can export both images or just the transformed image. Many users delete the original and export just the transformed image.
Once you have Exported the image from PLP, go back to Corel and go to File | Import and import the saved image into Corel. You are now ready to laser engrave!