X-Axis Flex Cable Replacement on the Epilog Mini
Machine Types: Epilog Mini 18/24
Tools Needed: Phillips #1 Screwdriver
- Turn off machine and unplug power cord.
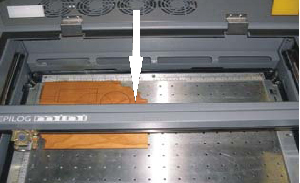
- Open glass lid and locate the I-beam.

Picture 1
- Remove I-Beam cover by loosening the two screws on the front side of the beam and the four screws on the rear if you have a Mini 18. The Mini 24 will have 2 screw on the front and 5 on the backside. It is the grey or blue metal cover. You do not have to take the screws off, just loosen them a bit and then pull the cover off.
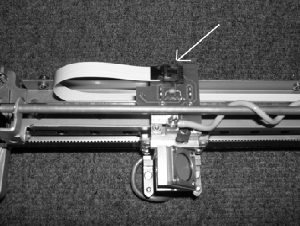
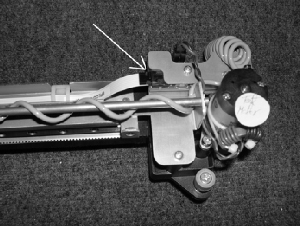
- Once you have set the cover aside, locate the white colored flex (ribbon) cable attached to the green board immediately above the lens carriage (pic 2). Disconnect the flex cable from that board and also from the other end on the right side of the I-beam (pic 3).

Picture 2

Picture 3
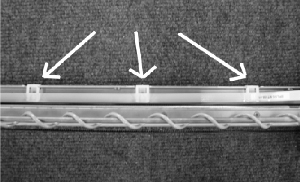
- The next step to slide off the flex cable from the 3 white plastic clips (pic 4). Note: the flex cable is not inserted all the way under the clips. Notice how it is positioned before sliding it out so that you can place the new one in exactly as the old one was. This is to prevent the cable from rubbing against next to it.

Picture 4
- Place the new cable into place so that the black connectors snap into the green boards on both ends and under the 3 clips.
- Grab the lens head and move it left to right all the way several times to ensure that all runs smoothly.
- Reverse Steps 3 through 1 to complete this procedure. It is very important to note that the I-beam cover must not rub up against anything after you have put it back into place.
If you have any questions please call Epilog’s Technical Support
Phone 303.215.9171
Fax 303.531.7594
E-Mail tech@epiloglaser.com