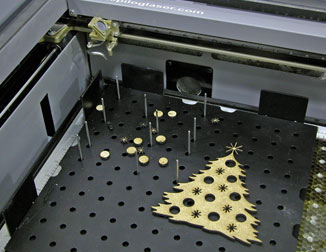
In this project, we're going to show you how to set up a file to be used with the Vector Pin Table, a popular accessory of the Epilog laser system. The Vector Pin Table is used to hold your project above the cutting table with the use of small pins. This allows the laser to cut through the material, without the backside burning or leaving grid marks.
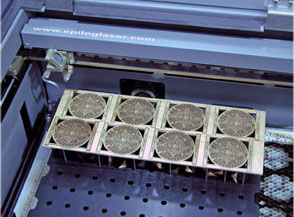
1) To start, we've set our page size to the size of the Vector Pin Table, 12" x 12". Next, we'll set up a grid on our page to match the pin table's grid of pins.
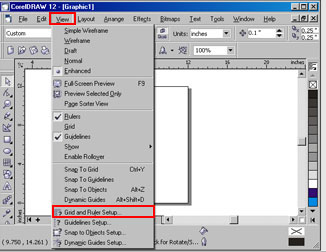
To access the menu, click View in the menu bar, then Grid and Ruler Setup from the drop-down menu.
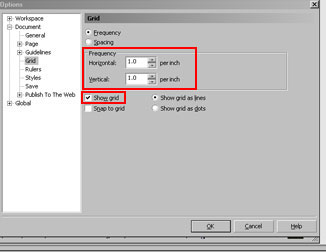
2) The screen that pops up will allow us to set up a grid on our workspace that matches the grid of the Vector Pin Table. Since each pin on the table is 1" apart, we're going to set up the grid at 1" x 1".
Under Frequency, set both the Horizontal and Vertical Frequency to 1.0. Next, make sure there is a check mark next to Show Grid, then click the OK button to continue.
3) Now our page shows up with a 1" x 1" grid appearing on the page. This grid will not print when you send it to the engraver, it is only there for you to use as a guide for setting up your project.
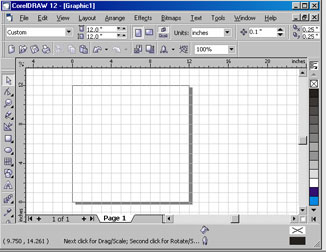
4) Next, we set up the size of the material we are working with on the grid. In this case, we'll be working with a 7" x 7" piece of wood.
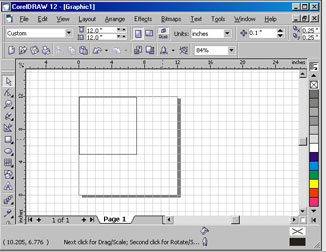
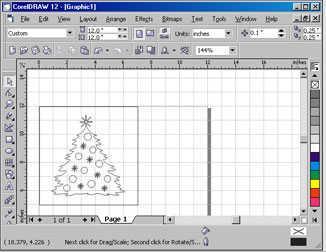
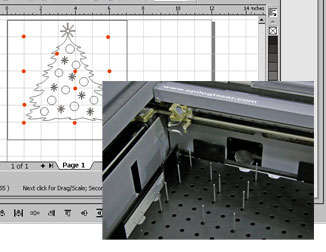
5) Finally, we import our graphic on the page. We'll be cutting out a Christmas tree from the wood. As you can see, there are several ornaments that will be cut out of the tree, as well as the outline of the entire tree.
When we place our pins on the table, we want to be sure they hold up the outer piece of wood as well as the tree we are cutting out.
6) We drew a small red circle to show where our pins need to be placed on the grid.
Position the pins around and inside the tree so they are placed at enough grid intersections so that the outer piece of wood is supported, as well as the tree.
You want to make sure not to place any pins under an ornament that will be cut out, or the tree may drop out of the piece of wood before you are done cutting.
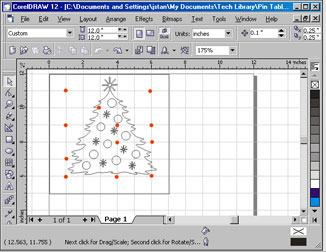
7) Using the drawing in CorelDRAW, copy the placement of the pins to the Vector Pin Table. Since the first circle we drew was one hole in and one down, we'll place one there. The next one is two below that, and so on.
8) Finally, delete the red circles on the page and send the project to the laser. When the laser is done cutting, you'll have a beautifully cut out project.
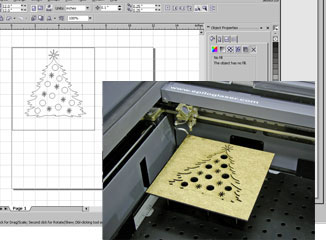
9) You can remove the top level of the table, called the Parts Lifter, to remove the scrap pieces of wood.
That's all there is to it! Use the Vector Pin Table to professionally cut all of your projects!
