Technical Library: How to Create a Jig
Creating a jig is a great way to approach engraving multiples of the same item, or when you have a large engraving job with multiple pieces of the same item with different graphics/text on each one.
Another great benefit to creating and using jigs is the time savings they give you when running the same job again in the future.
In this article we are going to create a jig template for engraving the building blocks of a Jenga™ game.
Download the final Jenga Block Jig file below by right-clicking and choosing save as: jig-jenga-blocks.cdr or jig-jenga-blocks.eps

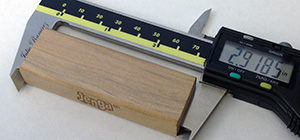
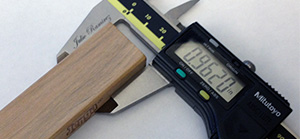
Start by using a caliper or a ruler to measure the length and width of a Jenga block. This will be the size of the hole we cut from our jig template material.
Add a little extra space to the measurements to accommodate for a small variance in the size of each block.
Jenga blocks = 2.94" x 0.98"
Next, in CorelDRAW create a new document with the dimensions 24 x 12 inches.
The sheet material we'll be a sheet of plastic that is 24 x 12 inches and 1/8th inch thick.
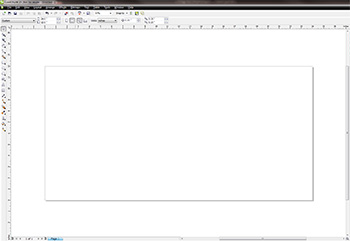
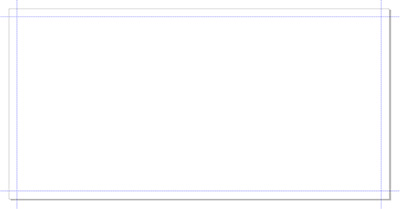
Drag and drop four guides from the document ruler to create a 1/2 inch border inside the page.
Creating a 1/2 inch border from the edge of the materials to the edge of the jig will make the jig a bit sturdier and less likely to break.
If your document doesn't have the rulers visible, select View | Rulers from the drop-down menu at the top of the screen.
Note: When you are creating guides you can use the object position box at the top left corner of the page to move a guide to an exact position. The object position box appears when you select a guide.

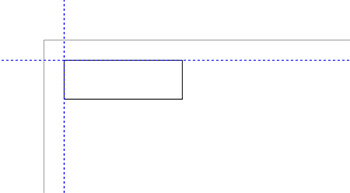
Use the rectangle tool to create a rectangle using the measurements from step 1.
Once you've created the rectangle align it to the top right corner of your guides.
Note: Using the Snap to Guidelines feature in CorelDRAW makes aligning objects to guidelines very easy. Turn on Snap to Guidelines under
View | Snap to Guidelines in the drop-down menu at the top of the screen.

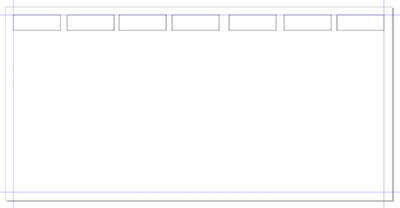
Duplicate the first rectangle six times so that you have seven rectangles total.
There are two quick ways to duplicate or make copies of objects in CorelDRAW. One option is to use the Transformation palette and enter and offset and the number of copies, the other option is to click and drag the original rectangle pushing down on the spacebar each time you'd like to make a copy.
Don't worry about the spacing between the boxes at this point. We will be making all the spaces between the boxes even in the next step.
Opening the Align and Distribute palette by choosing Arrange | Align and Distribute | Align and Distribute from the drop-down menu at the top of the screen.
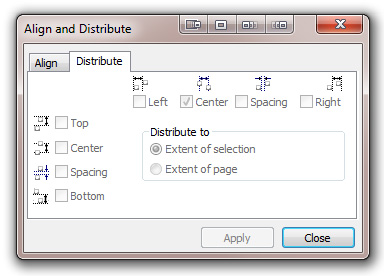
Select all the boxes and in the Distribute tab of the Align and Distribute palette click the check mark next to Center Horizontally, then click Apply. (Shortcut: Shift + P)
This will even out the spacing between the boxes in the first row.

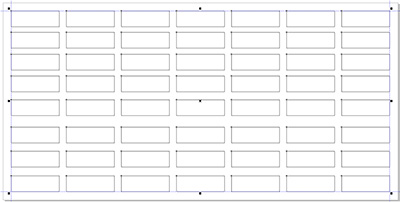
Select the entire first row of boxes. Then click and drag, pushing the spacebar key until you've created eight rows of boxes. Align the bottom of the last row to the bottom page guideline.
Open the Align and Distribute palette by choosing Arrange | Align and Distribute | Align and Distribute from the drop-down menu at the top of the screen.
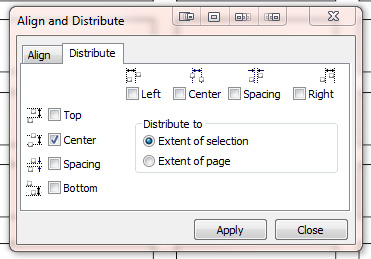
Select all the boxes in one column. In the Distribute tab of the Align and Distribute palette click the box next to Center Vertically, then click Apply. (Shortcut: Shift + A).
Repeat this step for each column until each box in the jig is aligned with its row and column.
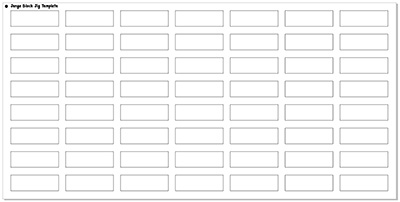
The final layout for the Jenga block jig has seven columns and eight rows. There are 54 pieces in a Jenga game so you won't use the last two boxes, but they are there if you need them!
As a finishing touch, always add the name of the jig to the top left corner so you know which job the jig is for and which corner is the top left for placement into your machine.


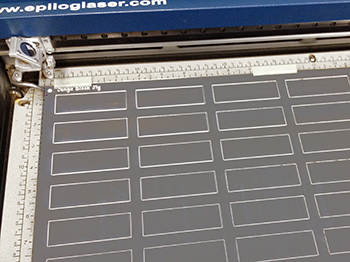
The final step is to place your plastic sheet into the the system and engrave and cut it. We used Rowmark Grey/White engravable .0625 inch laserable plastic for the Jenga Block Jig.
Download the final Jenga Block Jig file below by right-clicking and choosing save as:
jig-jenga-blocks.cdr
To view an article on engraving multiplication tables on the Jenga blocks and download the files visit the Sample Club at epiloglaser.com/sc-jenga-blocks.htm.
