One of the most common questions we receive is regarding badge layout. Although it looks easy, finding a quick way to create multiple name badges can create some major complications.
Since working with PhotoLaser Plus, we've discovered a great benefit of the software is that it does an excellent job of handling badge layout. It's easy to set up, and it resolves several common difficulties, including compression of long names and easy management of several variables of data.
In this article we'll be looking at how to do a quick badge setup. To see a video demonstration, click here.
We'll start by designing a single name badge, then using that template to setup as many badges as needed for the project.
In this case, we'll be creating ten 3" x 1" badges.

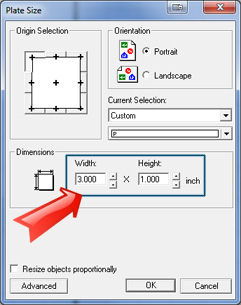
1) Open PhotoLaserPlus and set the plate size to 3" x 1" - the size of one badge.
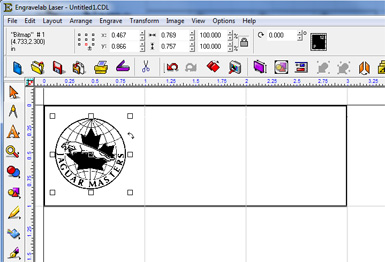
2) Import your logo using File/Import. You can place this on the badge wherever you would like it located.
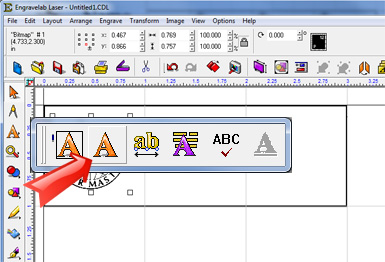
3) Next, we're ready to set the location for the names. Click on the Text button in the menu, then the second selection in the fly-out menu for the Text Compose tool (the second choice in the fly-out window).
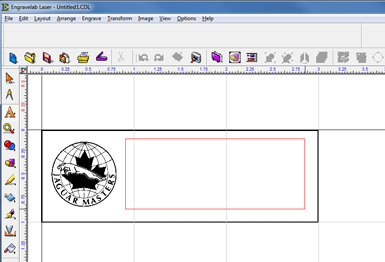
4) Click and drag to create the size of text box you want to use for names. This should be the largest size you want a name to appear on a badge.
5) Type the word "Name" in the text box.
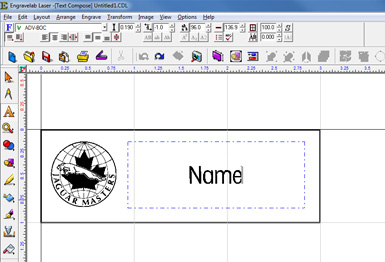
6) Select everything on the badge. If you don't do this, the unselected items will not be repeated on the badge.
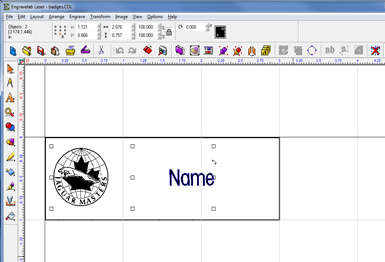
7) Now that we've laid out the template, we're going to use this single badge to create the entire layout.
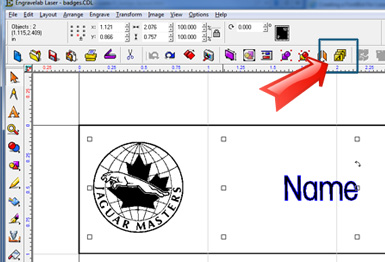
Click the Badge Tool in the tool bar at the top of the page (or select Layout/Badges.)
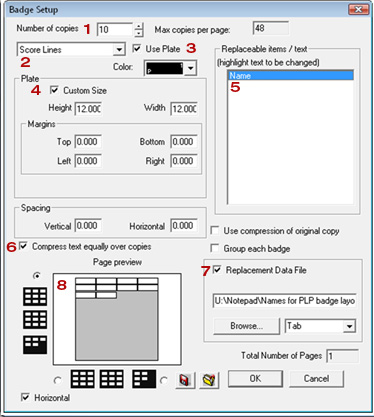
8) Set the badge set up parameters as shown to the right.
1. Number of copies: set to the number of badges you want to create, in our case, ten.
2. Score Lines: This is an optional setting that you can use to vector cut the badges if you are using a material like wood or plastic.
3. Use Plate: It's important that this setting is checked so the graphic corresponds with the actual plate size you are using.
4. Custom Size: The custom plate size corresponds to the size of the material you're using to engrave the badges - a 12" x 12" piece of plastic in this case.
5. Replaceable items/text: This box will show you any text that can be a variable to be changed in your file. In this case, it refers to "Name" that we typed earlier. It is very important that this field is highlighted before moving to the next step.
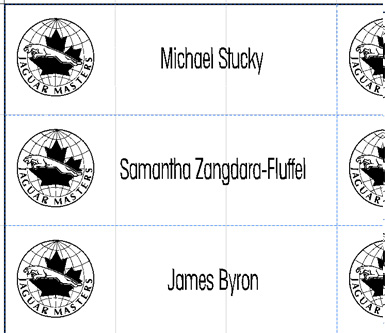
6. Compress text equally over copies: If names are too long to fit in the text box, they will automatically compress to fit in the text box. (See examples to the right)
7. Replacement data file: If this box is checked, you can browse for a data file with all of the names your customer has supplied. If blank, the next screen will allow you to enter the names manually.
8. Page Preview: You can see a layout of how the badges are going to be printed to the laser. You can adjust the margins and spacing if needed as well.
Press OK to continue.
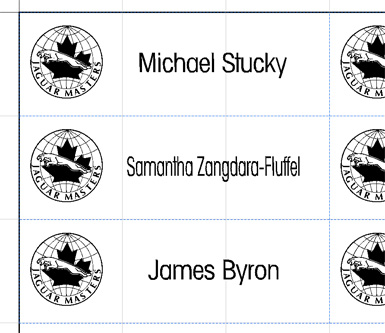
When "Compress text equally over copies" is not checked, only the long name is compressed.
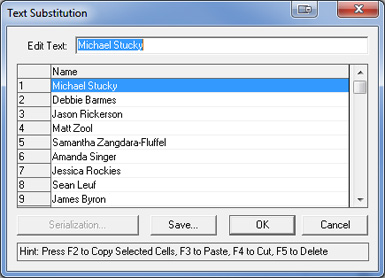
9) The Text Substitution box will appear, showing you either the names from the file you selected as your Replacement Data File in the last step, or a blank box for you to enter names if no file was selected.
Press OK to continue when you've verified the information is correct.
10) Your badges are ready to go! Just print them to the laser.
